Gluten-Free English Muffins
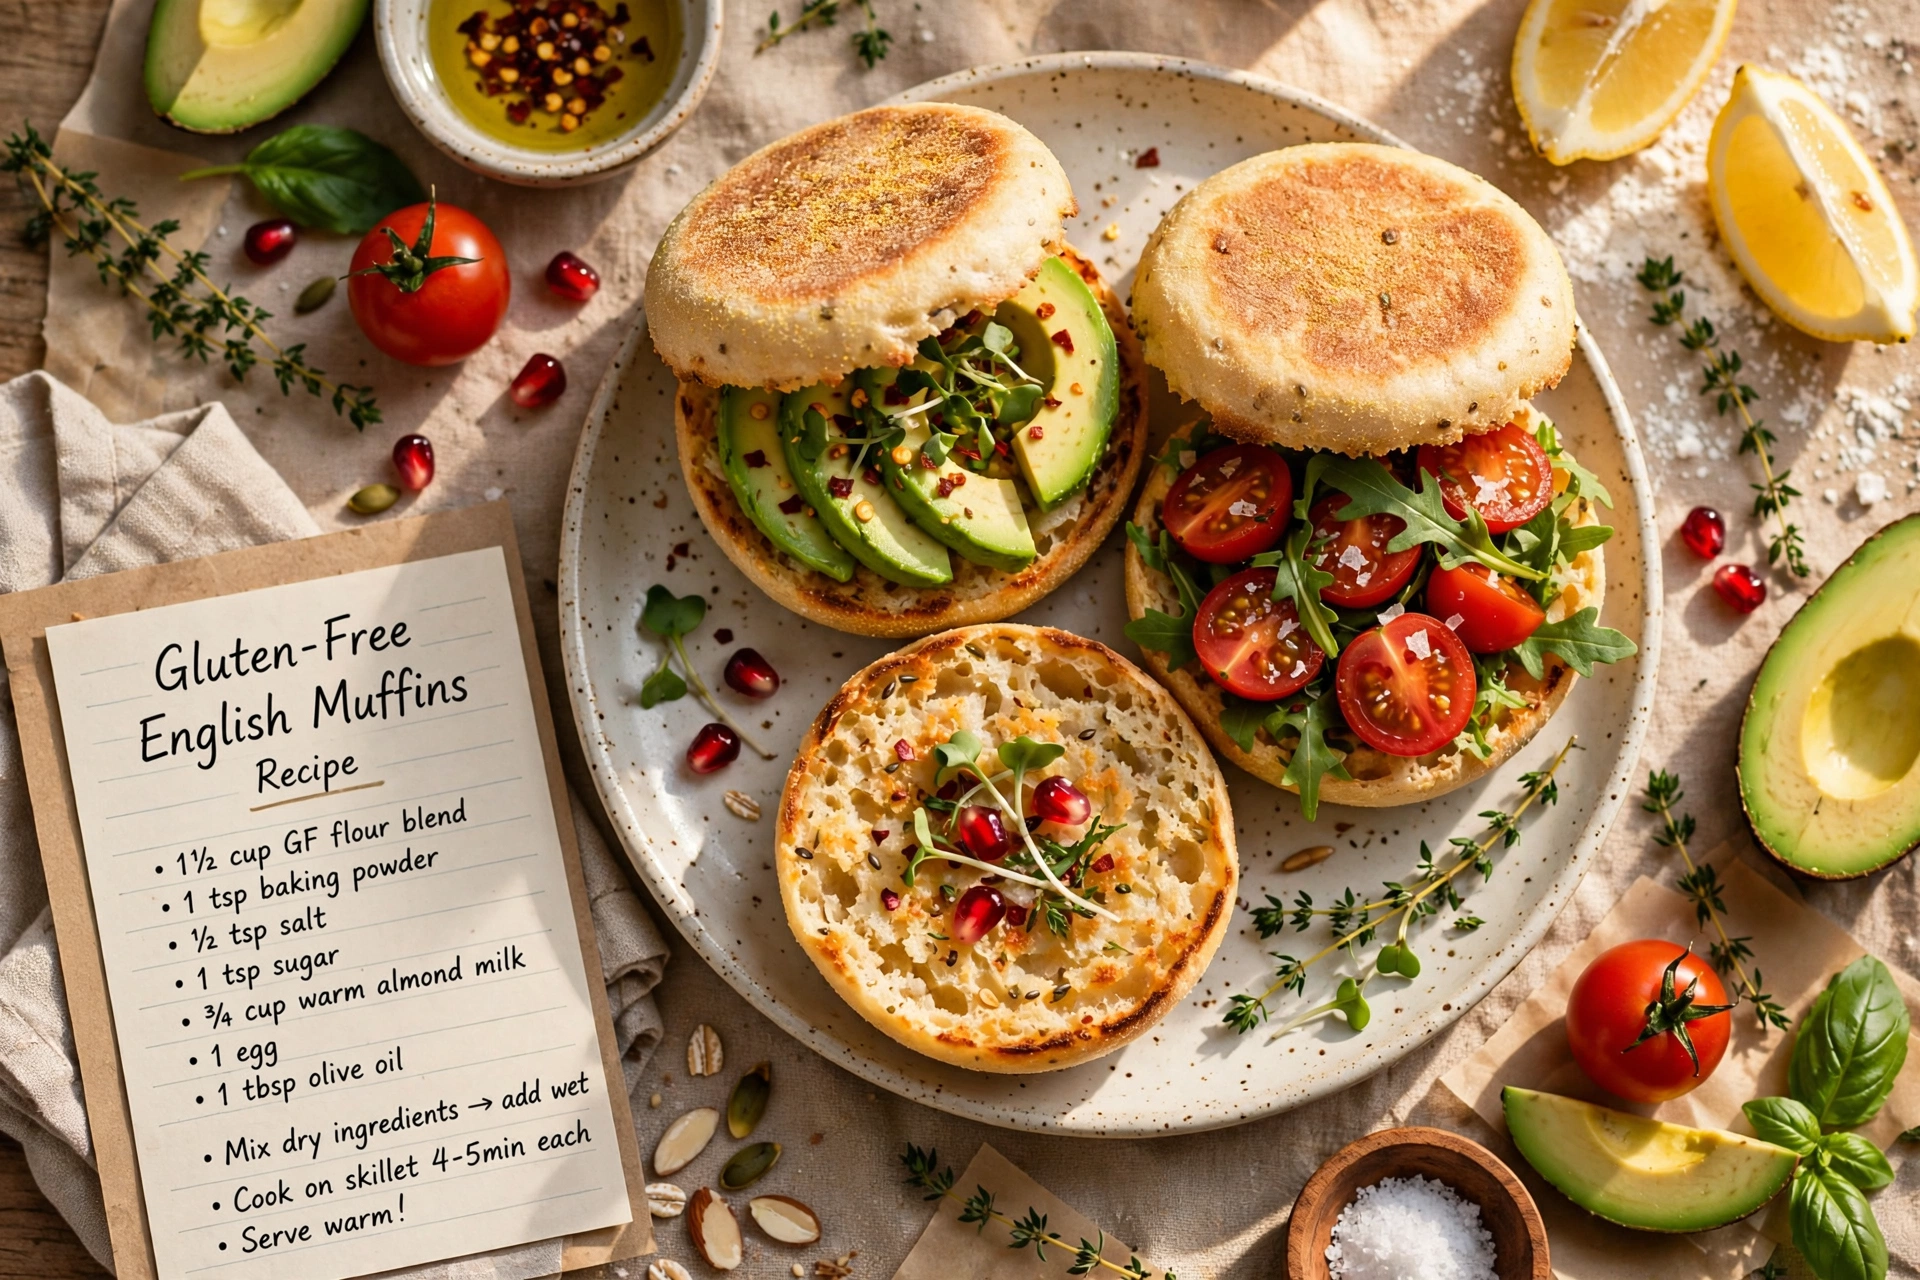
Fluffy, nook-and-cranny gluten-free English muffins made on the stovetop, perfect for toasting with butter and jam or building the ultimate breakfast sandwich.

Why You'll Love These Gluten-Free English Muffins
If you've missed the ritual of splitting open a warm English muffin and watching butter melt into every nook and cranny, this recipe is for you. These gluten free English muffins are cooked low and slow on the stovetop, just like the originals, and they deliver that same craggy, chewy interior without a speck of gluten in sight. No specialty rings required, just a skillet, a lid, and a little patience.
What makes this one of my favorite gluten free recipes bread bakers to reach for is how forgiving it is. The batter comes together quickly, there's no kneading, and the payoff is a stack of golden muffins that taste like something from a bakery counter, not a gluten-free substitute.
Before we get cooking, the right tools and ingredients make a real difference here. A good gluten-free flour blend and a heavy, evenly heating skillet are what separate a gummy muffin from a properly cooked one. These are the products that genuinely help this recipe shine:
The Secret to Great Texture
Unlike a lot of foods with gluten, gluten-free baked goods rely on structure builders like xanthan gum and a well-balanced flour blend to mimic that stretchy, chewy quality. This recipe leans on a thick, spoonable batter rather than a kneadable dough, which is exactly what gives these muffins their signature open crumb once you split them with a fork.
A few things matter more than usual in homemade gluten free baking:
- Use a true 1:1 gluten-free flour blend. Single flours like almond or coconut will not behave the same way.
- Don't skip the rest after shaping. Those 15 minutes let the batter relax and rise slightly before hitting the skillet.
- Cook low and covered. This mimics a mini oven, so the centers cook through without scorching the outside.
Chef's Tip: Resist the urge to press down on the muffins while they cook. Gently flattening once at the start is enough. Pressing later deflates all that lovely rise you worked for.
A Nod to Gluten-Free Sourdough Fans
If you're someone who loves the tang and chew of gluten free sourdough, you can echo that flavor here by swapping the water for gluten-free sourdough discard and reducing the yeast slightly. It's a fun variation once you've nailed the base recipe, and it adds a lovely depth that plain English muffins sometimes lack.
These muffins also fit beautifully into a broader gluten free eating routine because they freeze so well. Make a double batch on a weekend, freeze half, and you've got a fast weekday breakfast ready whenever you need one. This is one of those gluten free recipes easy enough for a beginner, but satisfying enough that it becomes a regular in your rotation.
Ready to make it? Here is the full step-by-step recipe:
Gluten-Free English Muffins
Fluffy, nook-and-cranny gluten-free English muffins made on the stovetop, perfect for toasting with butter and jam or building the ultimate breakfast sandwich.
Ingredients
- 2 1/2 cups gluten-free all-purpose flour blend, look for a blend that already contains xanthan gum
- 1/2 tsp xanthan gum, omit if your flour blend already includes it
- 1 tbsp granulated sugar
- 2 1/4 tsp instant yeast, one standard packet
- 1 tsp fine sea salt
- 1 cup milk, warmed to about 110°F, dairy or unsweetened dairy-free milk
- 1/4 cup water, warm
- 2 tbsp unsalted butter, melted, or dairy-free butter
- 1 large eggs, room temperature
- 1 tsp apple cider vinegar, helps with rise and texture
- 3 tbsp cornmeal, for dusting
Instruction
In a large mixing bowl, whisk together the gluten-free flour blend, xanthan gum (if using), sugar, instant yeast, and salt until well combined.
In a separate bowl or measuring cup, combine the warm milk, warm water, melted butter, egg, and apple cider vinegar. Whisk until smooth.
Pour the wet ingredients into the dry ingredients and beat with a hand mixer or sturdy spoon for about 2 minutes, until you have a thick, sticky, batter-like dough. It will not look like traditional bread dough.
Cover the bowl with plastic wrap or a damp towel and let it rise in a warm spot for 45 to 60 minutes, until noticeably puffy and roughly doubled.
Line a baking sheet or tray with parchment paper and dust generously with cornmeal. Scoop the batter into 8 mounds, about 1/3 cup each, spacing them apart. Sprinkle the tops with more cornmeal and let rest, uncovered, for 15 minutes.
Heat a large skillet or griddle over low to medium-low heat and lightly grease it. Working in batches, transfer 2 to 3 mounds to the skillet using a greased spatula, gently flattening each to about 3/4 inch thick.
Cook for 6 to 8 minutes per side, covered with a lid, until deeply golden brown and cooked through in the center. Lower the heat if they are browning too quickly.
Transfer the cooked muffins to a wire rack to cool completely before splitting, this locks in the texture and prevents gumminess.
Split with a fork to create the classic nooks and crannies, then toast and serve with butter, jam, or your favorite breakfast sandwich fillings.
Equipment
- Large mixing bowl
- Hand mixer or sturdy spoon
- Baking sheet
- Parchment paper
- Large skillet or griddle with lid
- Wire cooling rack
- Fork for splitting
Notes
Serving and Storage Ideas
Once your muffins have cooled, split them with a fork rather than a knife. This is what creates those famous nooks and crannies that hold onto melted butter so well. From there, the possibilities are endless.
- Toast and top with butter and your favorite jam for a classic breakfast.
- Build a breakfast sandwich with egg, cheese, and your choice of breakfast meat.
- Use as a base for mini pizzas with sauce, cheese, and toppings.
Chef's Tip: Always toast before serving, even if the muffin looks fully cooled and set. Toasting crisps the outside and firms up the interior, which keeps gluten-free bread from tasting dense or gummy.
Final Thoughts
These gluten free English muffins prove that going gluten free doesn't mean giving up the breakfast staples you love. With a simple stovetop method and a few smart ingredient choices, you'll have a batch of bakery-style muffins ready to toast, split, and top however you like. Once you try them, they just might become your new weekend baking tradition.