Classic Tuna Salad Wrap (Easy, Creamy, and Ready in 10 Minutes)
This easy tuna salad wrap is creamy, crunchy, and packed with flavor. A perfect quick lunch ready in just 10 minutes with simple pantry staples.

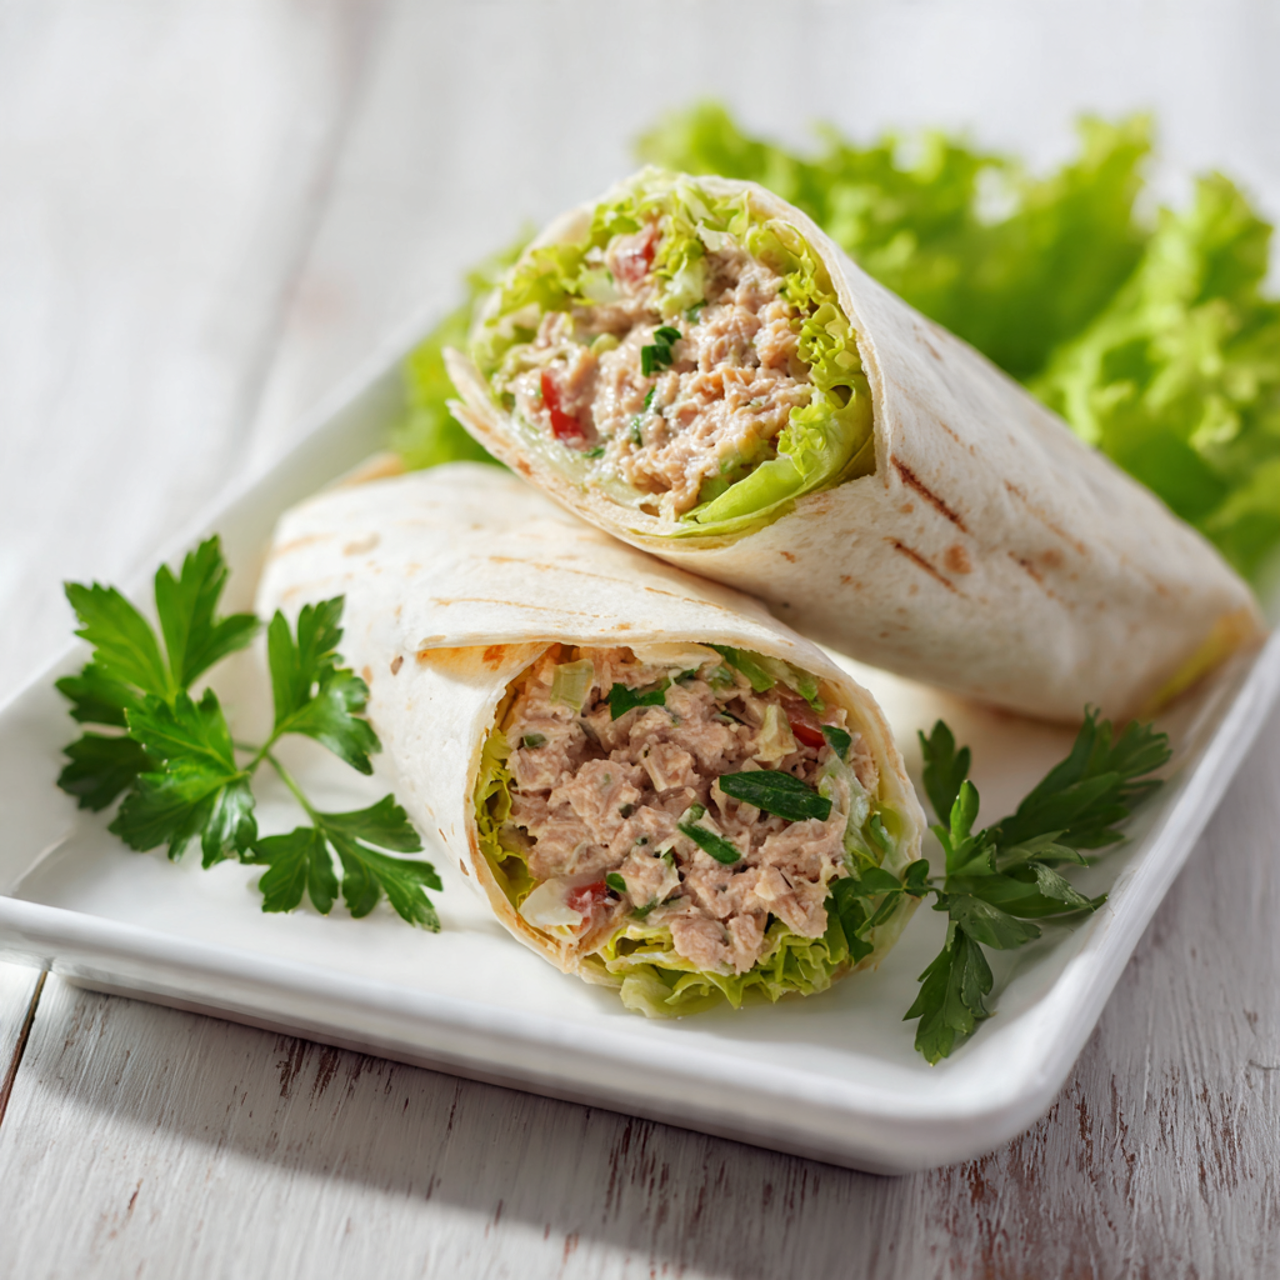
The Easiest Tuna Salad Wrap You Will Ever Make
Some lunches just work. This tuna salad wrap is one of those recipes that sounds almost too simple to be worth writing about, and yet it shows up in lunch boxes, desk lunches, and weekend meals week after week because it genuinely delivers. Creamy, crunchy, a little tangy, and endlessly satisfying. It takes about 10 minutes from the pantry to the plate, and the cleanup is practically nothing.
Whether you are looking for a quick tuna wrap sandwich recipe to replace your usual rotation, need an easy tuna wrap meal for the work week, or just want something that feels a little more put-together than a basic sandwich, this recipe has you covered.
Why This Tuna Wrap Actually Tastes Good
The difference between a forgettable tuna salad and a genuinely good one comes down to a few details. Draining the tuna completely is step one. Watery tuna is the number one reason wraps turn soggy before you even finish making them. Press it firmly through a strainer or squeeze it in a paper towel.
Step two is balance. The combination of creamy mayo, bright lemon juice, and a small hit of Dijon mustard creates a flavor profile that is rich without being heavy. The celery and red onion add the crunch that keeps every bite interesting.
And step three? Do not skip the seasoning. Tuna needs salt, pepper, and a moment of tasting before it goes into the wrap. Trust the process.
Chef's Tip: Freshly squeezed lemon juice makes a noticeable difference here. The bottled stuff works in a pinch, but fresh lemon lifts the whole salad and keeps it tasting bright rather than flat.
What to Put in a Tuna Wrap
The beauty of this recipe is that it is flexible. The base tuna salad is the non-negotiable part. From there, the wrap fillings are yours to play with. Here is what we use and why:
- Romaine lettuce adds crunch and keeps the wrap from feeling too dense
- Sliced tomato brings freshness and a little juiciness
- Avocado adds creaminess and healthy fat that makes this genuinely filling
- Large flour tortillas hold everything together without tearing
If you want to take it in a different direction, this also works beautifully in a whole wheat wrap, a spinach tortilla, or even a pita pocket for something closer to a chicken pita wrap lunch vibe. Swapping in butter lettuce for romaine gives it a softer, more elegant feel if you are serving it to guests.
For a spin on simple chicken wraps for lunch, you can swap the tuna for shredded rotisserie chicken and follow the exact same method. Or try a Caesar-style version by using Caesar dressing instead of mayo and adding shaved Parmesan for a take on a chicken Caesar wrap lunch box.
Getting the tuna salad right also comes down to your tools and ingredients. A good fine mesh strainer makes draining effortless, and using quality canned tuna packed in water gives you a cleaner flavor to build on.
How to Wrap It So It Stays Together
A wrap that falls apart mid-bite is deeply frustrating. Here is the technique that prevents it:
- Do not overfill. Leave a 2-inch border on the sides and bottom.
- Fold the sides in first, then roll from the bottom up, keeping tension as you go.
- Slice it diagonally right before serving. This is not just aesthetic. It makes the wrap easier to hold and helps you see those beautiful layers.
If you are packing this as an easy tuna wrap lunch to go, roll it tightly in parchment paper and twist the ends like a candy wrapper. It holds the shape beautifully for hours.
Heads Up: If you are making these ahead, keep the tuna salad and tortilla separate until you are ready to eat. Pre-assembled wraps can get soggy within a few hours, especially with tomato inside.
Ready to make it? Here is the full step-by-step recipe:
Classic Tuna Salad Wrap (Easy, Creamy, and Ready in 10 Minutes)
This easy tuna salad wrap is creamy, crunchy, and packed with flavor. A perfect quick lunch ready in just 10 minutes with simple pantry staples.
Ingredients
- 10 oz canned tuna in water, drained well, about 2 standard cans
- 3 tbsp mayonnaise, full-fat or light both work
- 1 tsp Dijon mustard
- 2 stalks celery, finely diced
- 1/4 cup red onion, finely diced
- 1 tbsp lemon juice, freshly squeezed
- 1/4 tsp garlic powder
- 1/4 tsp salt, or to taste
- 1/4 tsp black pepper, freshly ground
- 2 large flour tortillas, 10-inch, burrito size
- 1 cup romaine lettuce, shredded or whole leaves
- 1 tomato, sliced or diced
- 1/2 avocado, sliced, optional but highly recommended
Instruction
Drain the canned tuna thoroughly, pressing it against a fine mesh strainer or squeezing it through a clean paper towel to remove as much liquid as possible. This keeps your wrap from getting soggy.
In a medium mixing bowl, combine the drained tuna, mayonnaise, Dijon mustard, diced celery, diced red onion, lemon juice, garlic powder, salt, and black pepper. Stir everything together until the mixture is creamy and well combined.
Taste the tuna salad and adjust seasoning as needed. Add a little more lemon juice for brightness or an extra pinch of salt if it needs it.
Lay a large flour tortilla flat on a clean cutting board or plate. Layer romaine lettuce down the center of the tortilla, leaving about 2 inches of space on each side and at the bottom.
Spoon half of the tuna salad over the lettuce. Top with sliced tomato and avocado if using.
To wrap, fold in the two sides of the tortilla, then roll up tightly from the bottom, keeping the filling snug as you roll. Repeat with the second tortilla and remaining filling.
Slice each wrap diagonally in half and serve immediately, or wrap tightly in parchment paper for an easy grab-and-go lunch.
Equipment
- Medium mixing bowl
- Fine mesh strainer or paper towels
- Sharp knife and cutting board
- Spoon or rubber spatula
Notes
Serving Ideas and Simple Variations
This tuna salad wrap is a complete lunch on its own, but if you want to round it out, here are a few easy pairings:
- A small handful of kettle chips or pita chips on the side
- A cup of tomato soup for a cozy, diner-style combo
- Simple cucumber slices and hummus for a lighter accompaniment
For meal prep, make a double or triple batch of the tuna salad on Sunday and store it in the fridge. You will have the base ready for quick lunches all week. Serve it in wraps on Monday, over a green salad on Tuesday, or stuffed into a pita on Wednesday.
If you are cooking for someone who is not a tuna fan, this recipe translates perfectly to a simple chicken wrap for lunch. Use canned or shredded chicken breast with the same seasoning mix and you have an entirely different sandwich with zero extra effort.
However you make it, this is the kind of recipe that earns a permanent spot in your lunch rotation.